70mm Bird Photography?
Cardinal - March 2022, Dallas Arboretum and Botanical Garden
I’m not a bird photographer, but as a hobbyist with less time to devote to photography than I’d like, I try to do a little of everything whenever the opportunity presents itself.
Bird photographers use telephoto and super-telephoto lenses with focal lengths of 200mm and up. The longer, the better. The need for very long lenses is two-fold. First, birds and other wildlife are skittish. If you get too close, you’ll scare them away. Bird and wildlife photographers rightly do their best to minimize disturbances. Second, because of the required distance, a telephoto lens with a very long focal length is needed to capture all the amazing detail. And, of course, high-quality telephoto lenses cost a pretty penny. As an extreme example, the latest Z-Mount 600mm f/4 prime lens from Nikon will cost you just under $15,500, and the older F-Mount version, just over $12,000! A Nikon Z 400mm f/4.5, by comparison, is “inexpensive” at $3,250 because of the 4.5 aperture. If you are a Cannon shooter, the RF 400mm f/2.8 is $12,000 and the RF 600mm f/4 is $13,000! Those prices put the necessary equipment out of reach for the average person, and that’s why I wrote this blog post.
Photos from a recent photo walk in a nearby natural area:
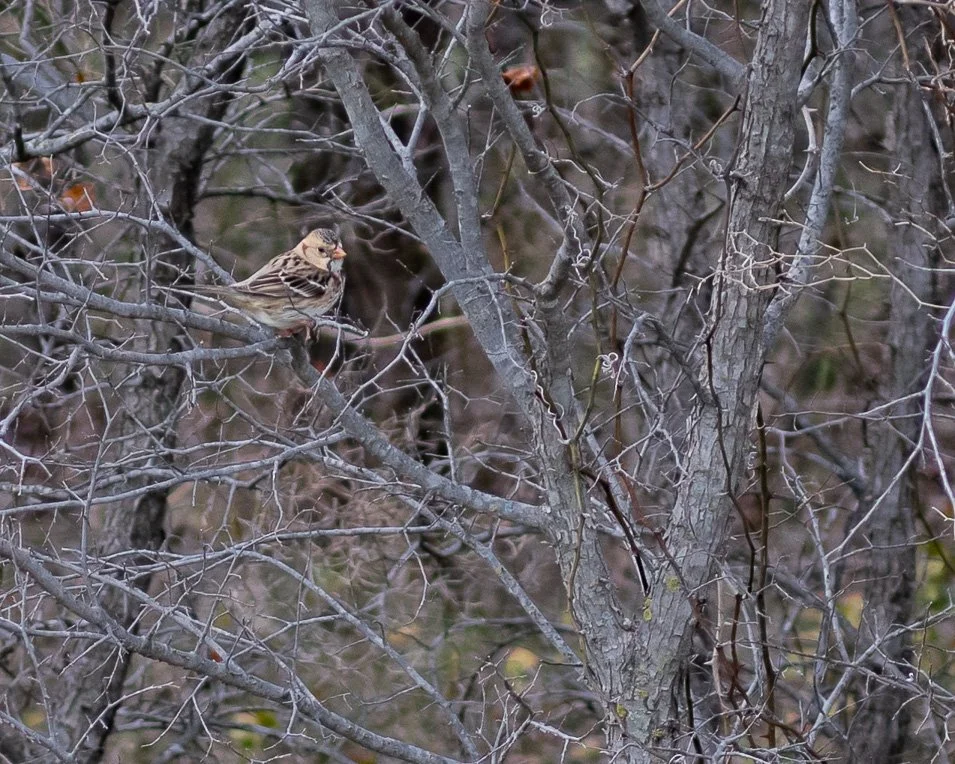
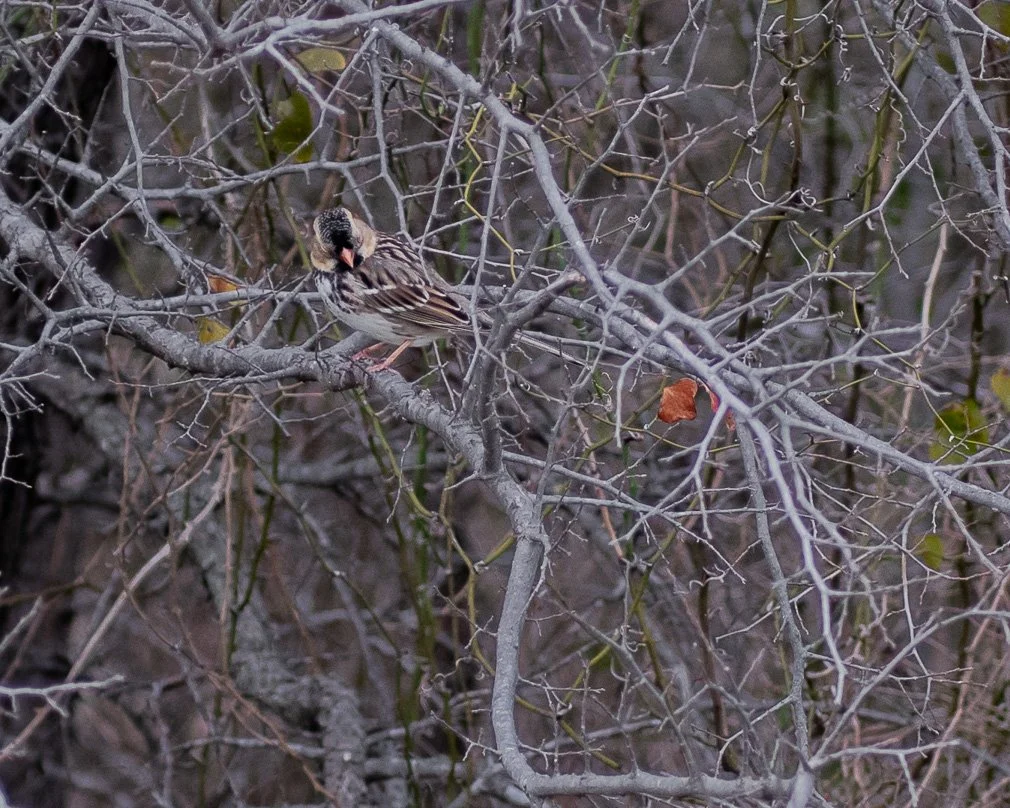

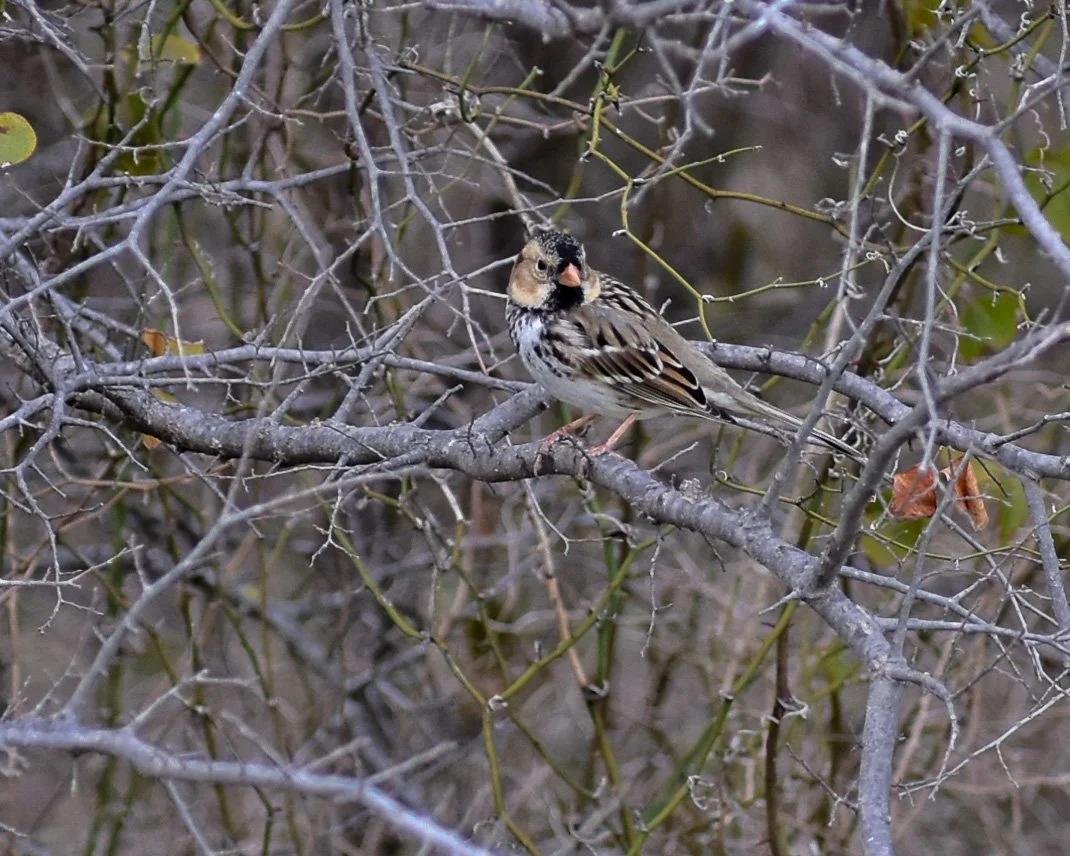
Not having anything close to the kind of money it takes to buy serious bird photography lenses, I do the best with what I have, which is a 24-70mm f/2.8 on an APS-C crop sensor camera. Since Nikon’s crop sensors have a 1.5x crop, at 70mm the lens is functionally equivalent to 105mm. So while that gets you a little more reach from the lens than when used on a full-frame camera, 105mm is still considered a “short” telephoto, and it is nowhere long enough to capture detailed photos of birds from far away enough not to scare them. As a result, the above photos are heavily cropped.
Moving away from the extreme examples above, new, a Nikon AF-S FX NIKKOR 200mm f/2 G ED will still cost over $6,000. A new Nikon AF-S FX 200-400mm f/4 G, right at $7,000. If like me, in my photos above, you are only capturing common birds found in and around your neighborhood, it is hard to justify the cost, and used options start to look much more appealing. Both KEH and MPB offer great used versions at significant discounts (non-affiliate links). I bought my 24-70mm f/2.8 used from MPB. I love it, and it rarely leaves my camera. I’m not an affiliate of MPB, but if you use this link to place an order, you’ll save $20, and I benefit too, so it’s a win-win!
70mm Bird Photography Tips
If you want to capture photos of local birds with a less-than-telephoto lens, here are some basic tips:
Research the kinds of birds in your area, their feeding habits, and what seasons of the year you can expect to see them.
If birds don’t frequent your home, find natural areas near you that are more friendly to birds
OR, to attract them to your home,
buy appropriate feed for the types of birds in your area
depending on the birds you are trying to attract, either
buy multiple bird feeders and install them in strategic locations
scatter species-appropriate nuts and seeds on the ground
Find a location where you can observe, but not disturb
Sit, be patient, still, and quiet, and have your camera ready
Be prepared to crop your photos
Photographing birds with relatively short focal lengths like 70/105mm, won’t win you any awards, but if you’re just in it for the enjoyment or challenge of it, you’ll find it rewarding.
BONUS Tips:
Camera settings for my Nikon
Camera Mode: I shoot in Manual 98% of the time, and its no different for bird photography
Aperture: I open my aperture as wide as the lens will allow, f/2.8 in my case. Remember, the lower the number, the wider the aperture, and the higher the number, the smaller the aperture. Wider apertures allow more light to hit your camera’s sensor.
Shutter Speed: I set my shutter speed to 1/200 or 1/250 of a second to freeze any movement from either the bird or me. Depending on your light, you could set it even higher (faster).
ISO: I set my ISO to the lowest I can while maintaining good exposure based on my aperture and shutter speed settings. As the light changes, I only manually adjust my ISO.
Focus mode: I set my Focus mode to “AF-C” for continuous, and my AF-area mode to Single-point AF. Then, whenever possible, I put the focus point on the eye of the bird I’m photographing. There is no Bird AF mode on my camera!
If you really get into it, you can buy or construct a makeshift blind to camouflage yourself from the birds, which may allow you to get even closer. However, if you live in suburbia, as I do, you may want to save the blind for the backyard so the neighbors don’t think you’re crazy!
* One or more links on this page are affiliate links, and as an Amazon Associate, I earn from qualifying purchases.